How to Write Wedding Decor Setup Instructions
Wedding decor setup instructions need five details: location, reference, quantity, owner, and pack-away plan. Use this guide to make a clear handoff.
By The Wedding Kit by Cosmo Suite · Editorial policy
Published · 9 min read
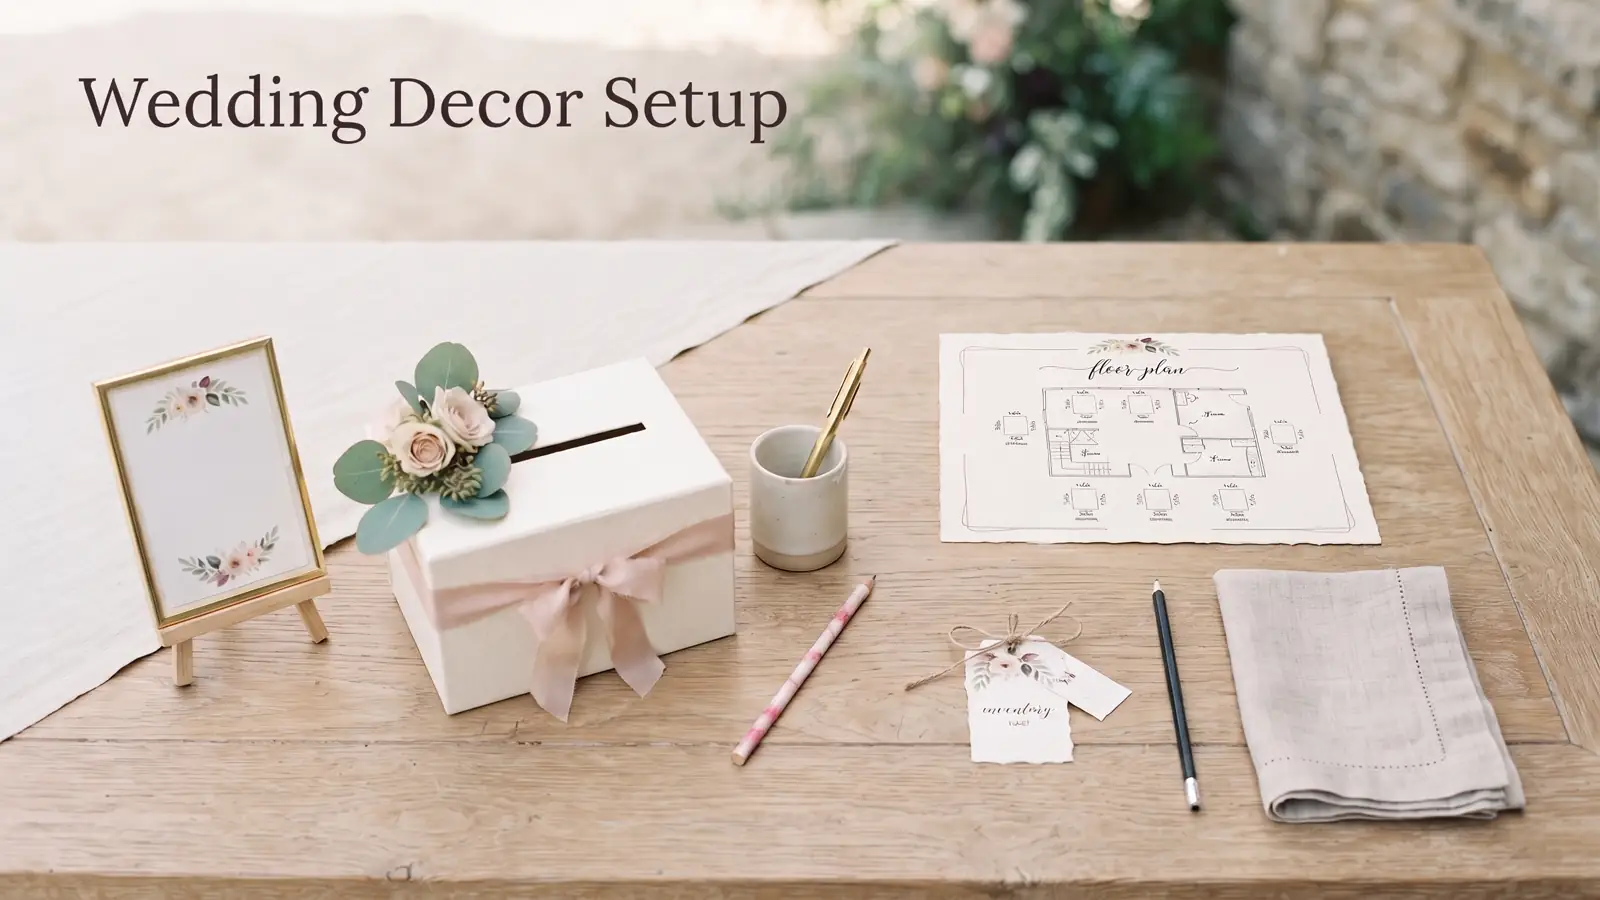
Wedding decor setup instructions are short directions that tell a helper what to place, where it goes, and who will confirm open details. A wedding decor idea becomes useful when it says how many pieces are needed and who owns the task. “Make the welcome table look nice” leaves the helper to guess the layout, the pieces, and what to do when something is missing.
Write each instruction so it can be followed without asking the couple to make routine decisions during setup. Use a named location, one reference image or diagram, a quantity, an owner, and a pack-away destination. Mark any detail that still needs venue or vendor approval.
The examples below are fictional. Replace every location, quantity, person, time, and venue rule with details confirmed for your event.
At a glance: write each line with a location, labelled reference, quantity, owner, and pack-away destination. Mark unapproved details open and name the person who will confirm them.
What should wedding decor setup instructions include?
A useful wedding decor setup instruction connects an item to a place, a reference, a quantity, an owner, and a destination after the event. Add a sixth field for confirmation status when venue or vendor approval is still open.
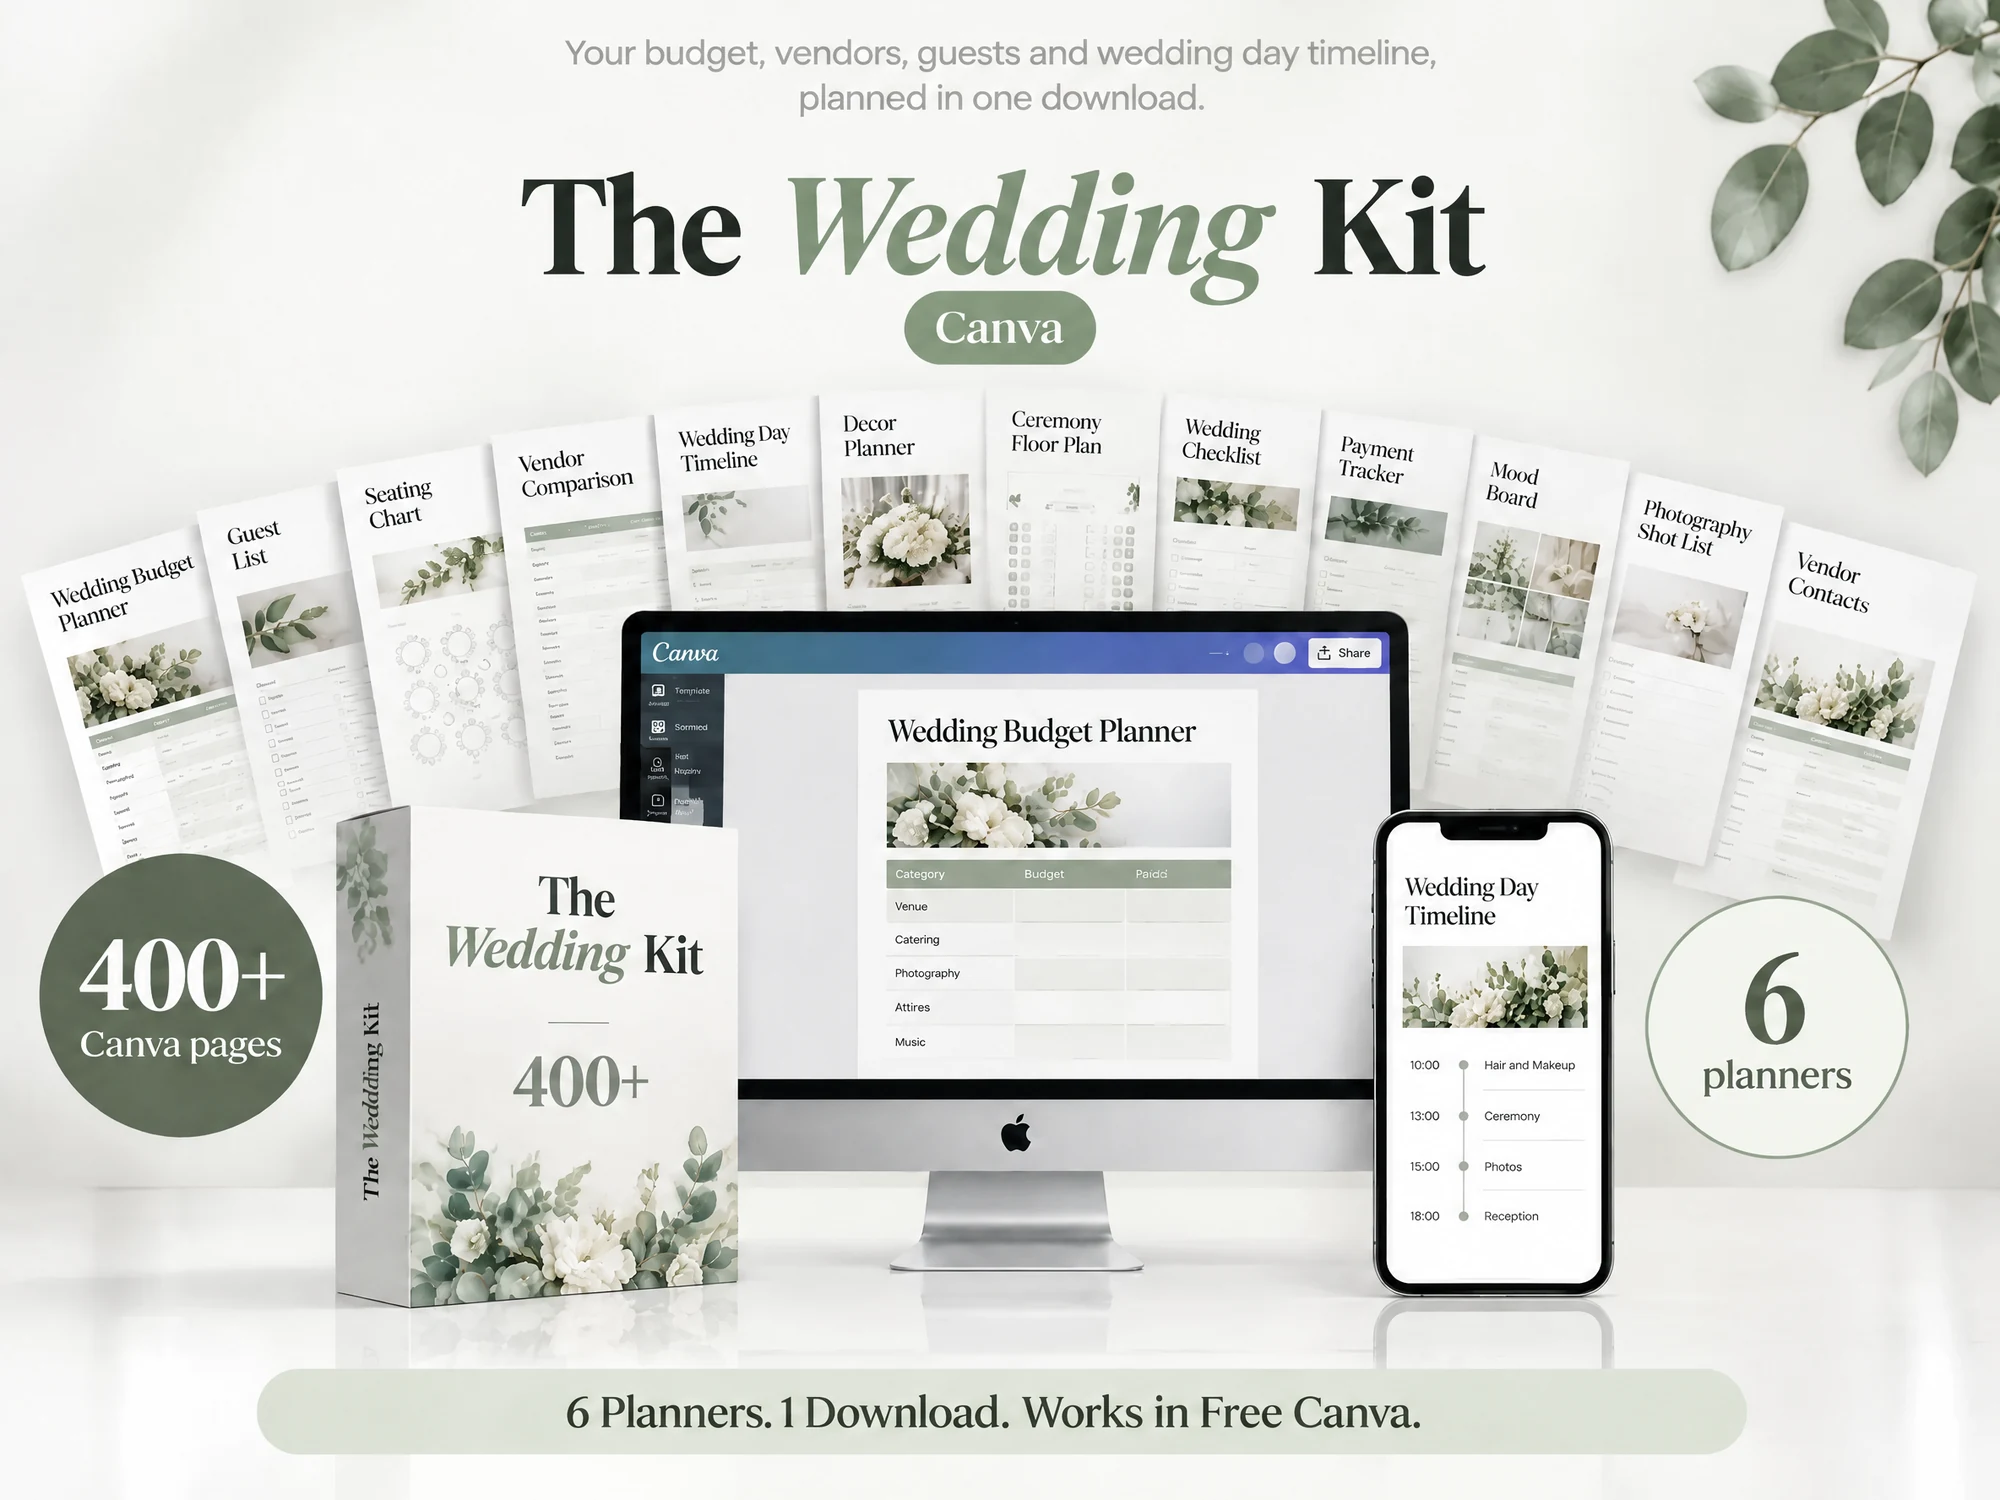
The Wedding Kit includes editable Decor Set-Up pages for each table. If you want a place to keep the instructions, see The Wedding Kit's decor and layout templates.
| Field | What to write | Example entry |
|---|---|---|
| Location | Room and named zone, table, or landmark | Reception room, welcome table by the guest entrance |
| Reference | File name or page number that shows the arrangement | welcome-table-v2.jpg, viewed from the room entrance |
| Quantity | Count or finished state | One framed sign, one card box, one pen cup |
| Owner | One person or vendor who accepted the task | Setup lead: assigned helper; venue confirms placement |
| Pack-away | Where items go after use | Sign and pen cup to labelled keepsake box |
| Status | Confirmed, open, or unassigned, with who will check | Placement open until venue confirms the entrance plan |
Keep one main action per line. If one instruction covers several unrelated tasks, a helper may miss a piece or assume another person is handling it. Split the work by location or by person, then link each line to the same room plan.
A wedding planning binder with a separate day-of packet can hold decisions and source notes. Give each helper the current setup instructions for their tasks.
How do you write one instruction a helper can follow?
Use a clear action, a precise location, the approved reference, and a named owner. Then add what to do if a required detail is missing.
Fictional example: welcome table
- Location: reception room, against the short wall to the right of the guest entrance.
- Reference:
welcome-table-v2.jpg, taken from the entrance. The arrow marks the table position. - Quantity: one welcome sign in its stand, one card box, one pen cup.
- Owner: the assigned setup helper places the items. The venue contact confirms the table position before setup.
- Pack-away: sign and pen cup go into the keepsake box. The card box goes to the named collection owner.
- Status: placement is open until the venue confirms it will not narrow the entrance route.
The helper can place the objects once the venue confirms the spot. If that answer is still open, they can finish other tasks and contact the named decision owner. They do not have to choose a new location.
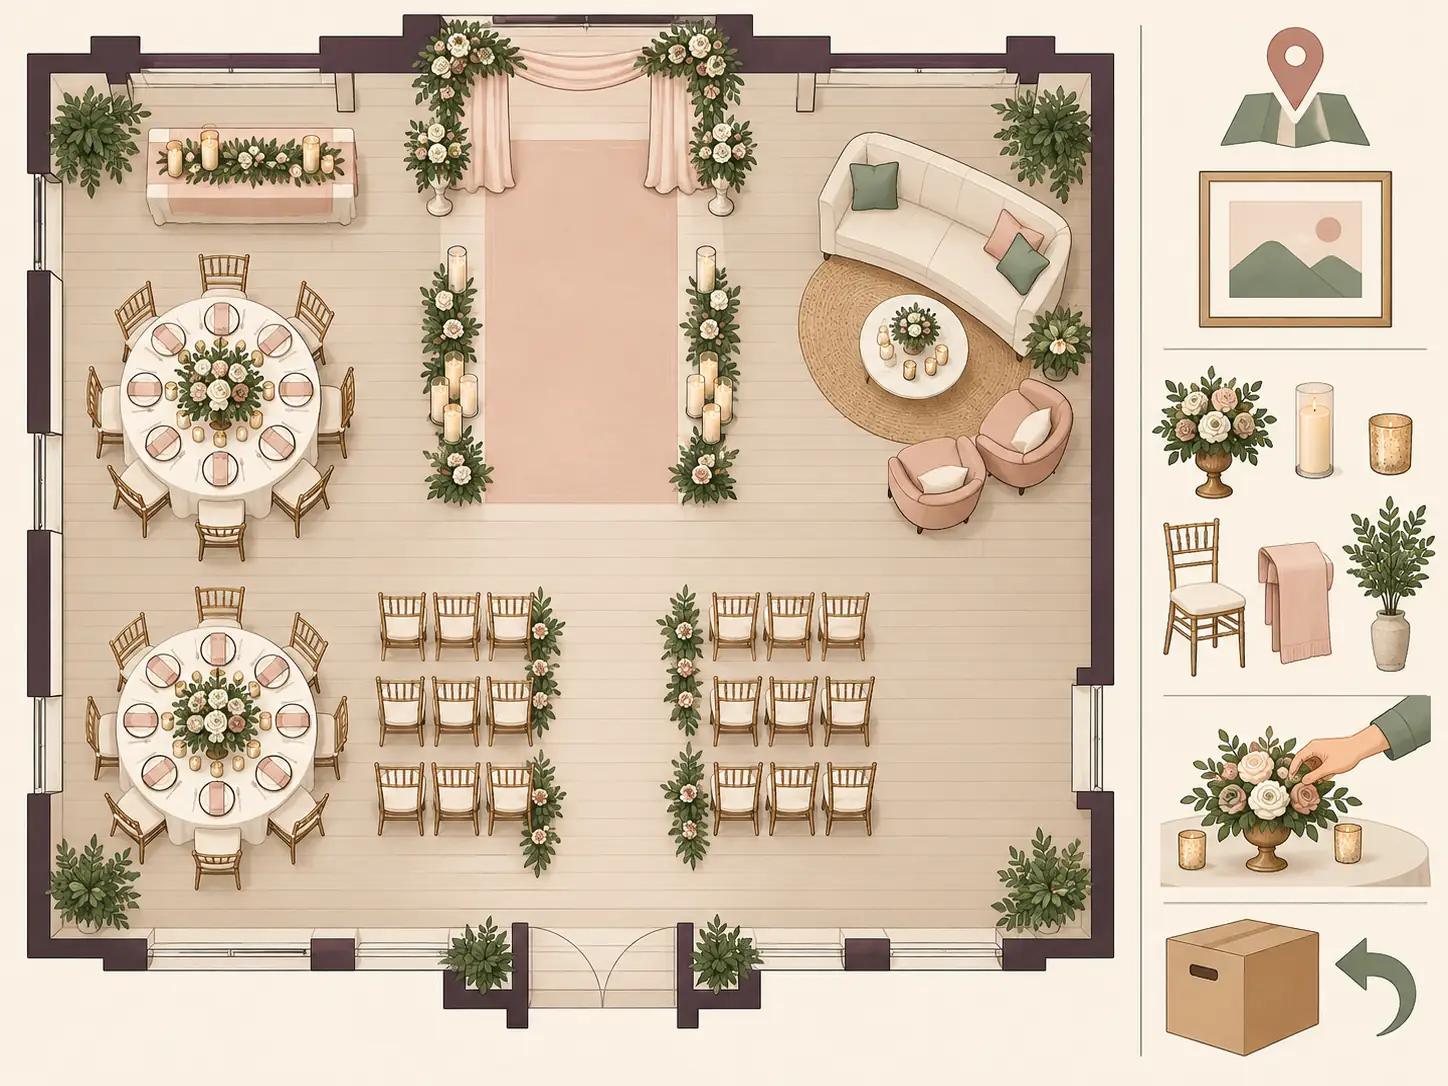
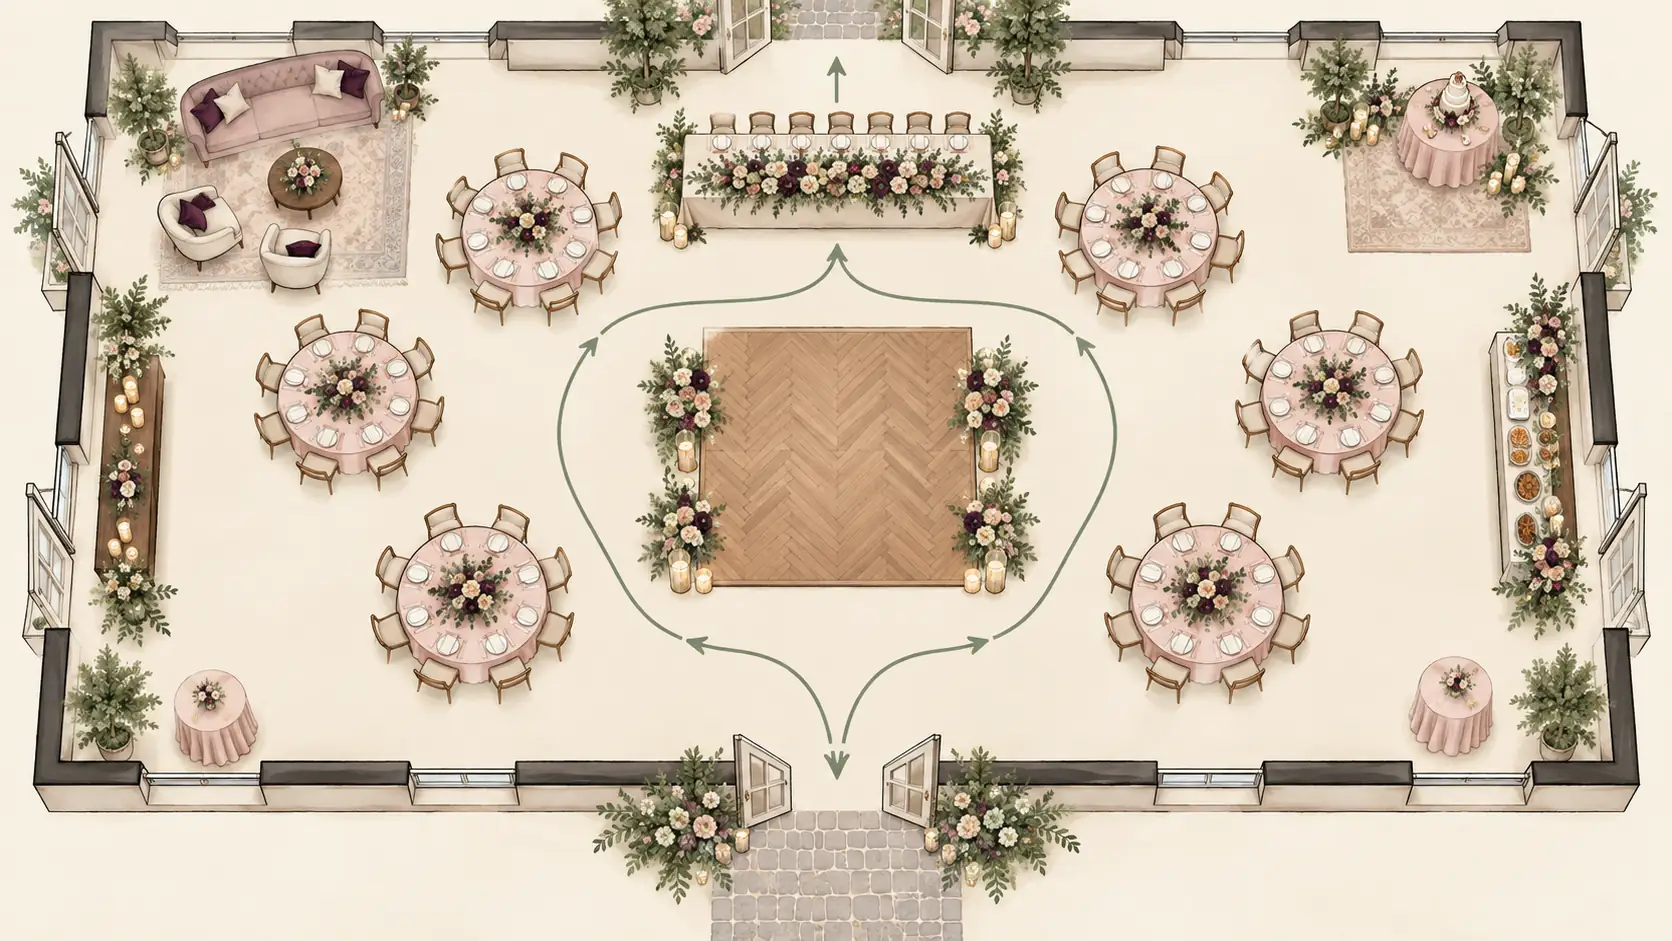
For the reference, choose a labelled photo, a marked floor plan, or a simple sketch that shows the view and orientation. Write a useful file name on the instruction itself. If a photo has arrows or labels, keep the original unmarked image too. A file called “IMG_4281” may be hard to match to the right table when several images arrive together.
The image can show style and placement, but the text carries the action. Add measurements only when someone has checked them at the venue. Never ask a helper to infer scale from a phone photo.
How do you match decor boxes to room zones?
Use the same names on your room plan, box labels, and setup lines. A helper can then match the box in front of them to one place on the plan.
Start by dividing the event space into zones the venue recognizes. These might include the ceremony area, guest tables, bar, cake table, or photo booth. Use the venue's current floor plan and terminology when available. If one room changes use during the event, name each version and the transition time separately.
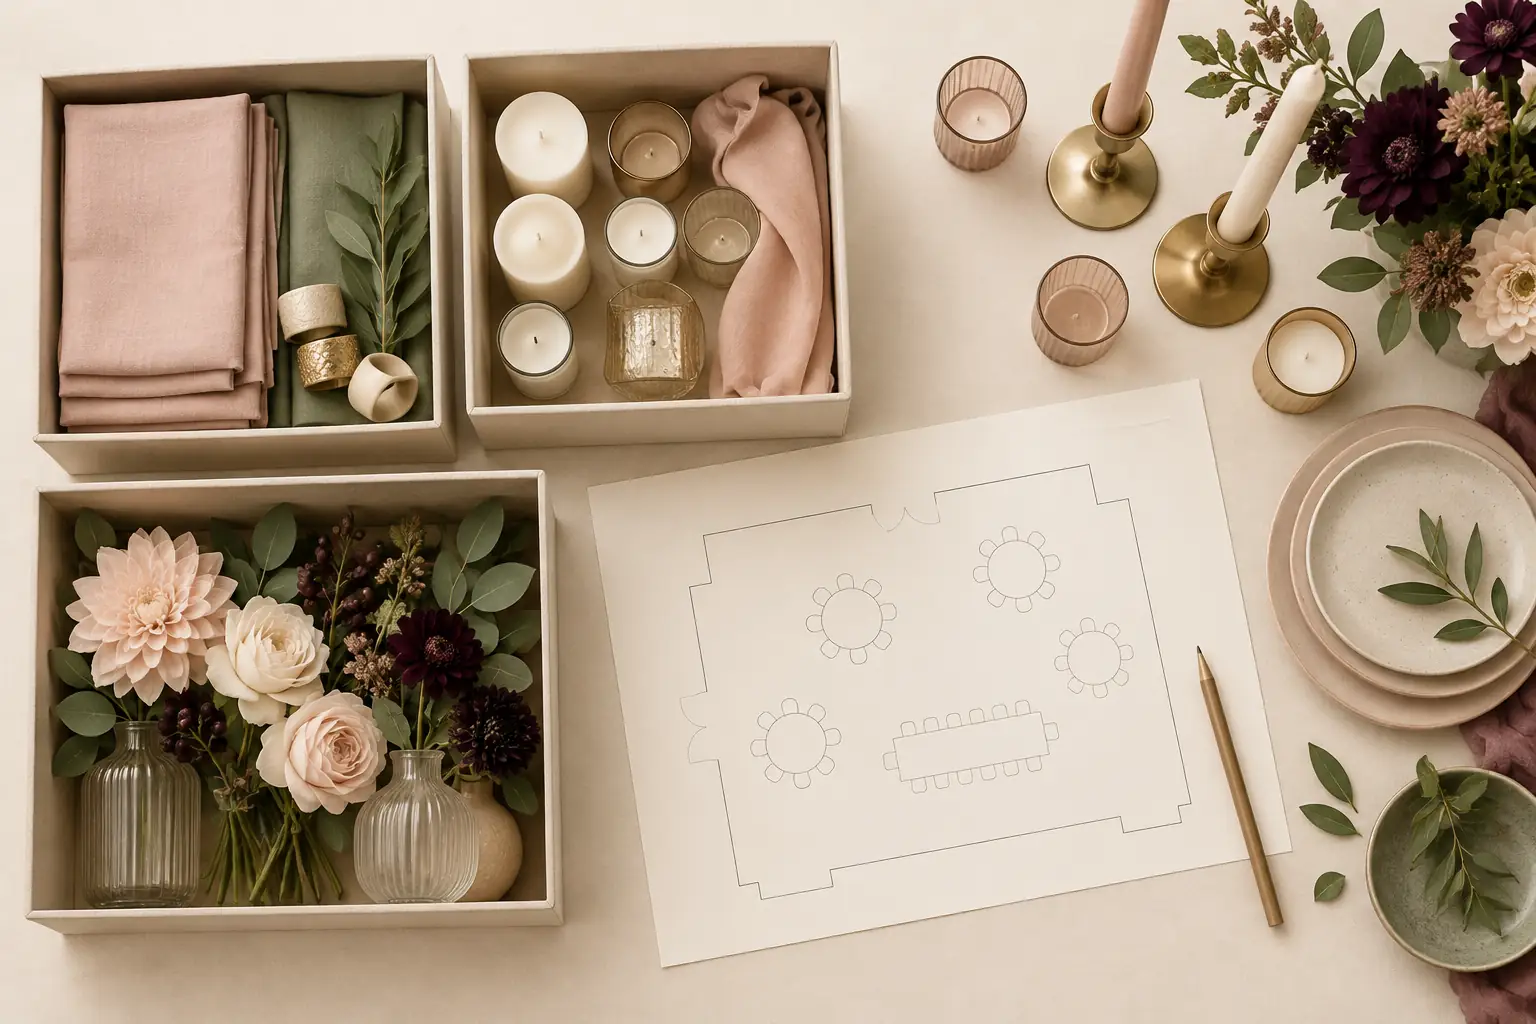
Group items for one zone together where practical. Put the destination on the outside of each container, then list its contents. For rented or borrowed pieces, name the return location and the person responsible for them. Keep anything that needs refrigeration, power, hanging, or special handling on a separate instruction until the responsible vendor or venue confirms the details.
For example, “Box 4” tells a helper very little. “Cake table: framed menu, card stand, small riser” connects the box to a place and gives the helper a quick way to check its contents. The exact items in this example are placeholders. Use your own inventory and confirm who is bringing each piece.
Use the photo to show the arrangement and the list to confirm each item count. Mark the photo with the zone name and version date. If the plan changes, update both the instruction and the box label before sharing another copy. A wedding day binder template for point-person handoffs can help keep the current page with other day-of contacts and documents.
Who owns each setup task and decision?
Give every setup line one task owner, then identify a separate decision owner for choices the helper cannot make. Some people may hold both roles, but name the action clearly.
A task owner places, checks, or returns the listed items. A decision owner approves a change to the layout, a substitute item, or an adjustment that affects a vendor or venue. A vendor may own a technical installation. The venue may have to approve access or placement. Confirm these roles directly instead of assuming a relative or coordinator has accepted them.
Use a short escalation path for problems:
- The helper checks the current instruction and reference.
- If the item or location does not match, the helper pauses that task.
- The helper contacts the named decision owner with the specific mismatch.
- The decision owner checks with the venue or vendor when needed and sends the update to everyone affected.
Keep this route beside the task list. The wedding vendor contact list can hold the confirmed day-of contact and backup route. Avoid sending private contact details to helpers who do not need them.
What venue rules should you confirm before setup?
Ask the venue or responsible vendor to confirm access, placement, attachment methods, fire rules, and teardown requirements before those details become instructions. Policies vary, so a sample plan cannot replace the agreement for your location.
Check when the room is available, where deliveries can enter, which surfaces can take tape or hooks, and who can move venue furniture. Confirm any requirements for candles, electrical items, hanging pieces, or rentals with the venue. If a rule is unclear, mark the related task open rather than guessing.
Keep decorations and equipment out of routes people use to move through the venue. The U.S. Access Board guide to accessible routes explains how routes connect spaces and elements on a site. Ask the venue to identify its accessible routes and confirm that the planned layout keeps them clear. Do not treat a diagram as a substitute for the venue's accessibility review.
Check the placement of signs, stands, and other decor that could extend into walking paths. The Access Board guide to protruding objects explains how objects along circulation paths can affect access. Ask the venue to review the current layout.
If the plan includes a lit candle, confirm that the venue permits it and follow its requirements. The U.S. Fire Administration candle guidance advises using sturdy holders and keeping candles at least 12 inches from anything that can burn. This is general fire-safety guidance, not venue approval or a complete code review. Battery-operated candles may be an option if the venue allows them.
For deliveries and teardown, check who signs for items, where rental pieces go, and when vendors need access. Write down the person who confirmed each answer and the date. If a vendor arrival conflicts with room access, assign someone to resolve the mismatch before the final instructions go out.
What should the final room check and pack-away plan say?
End each zone's instructions with a quick check and a destination for every item. The setup owner can compare the room with the reference. The teardown owner can return rentals and keepsakes to the right place.
| Check | Owner | Status or destination |
|---|---|---|
| Compare each display with its labelled reference | Zone setup owner | Open until checked in the room |
| Confirm routes and required venue access remain clear | Venue contact or assigned lead | Venue confirms before guests enter |
| Collect rented items after use | Named return owner | Venue or rental return point, as confirmed |
| Pack keepsakes and personal items | Named collection owner | Labelled keepsake box or agreed vehicle |
| Record anything left unresolved | Point person | Current open-items list, with follow-up owner |
Do not assign all teardown to the people who set up. They may be guests, vendors with a different end time, or people who are not staying until close. Confirm the pack-away owner and the available time with the venue. Separate rented pieces from items the couple is keeping, and note the person who will take each group.
A final check should use the latest room plan. If a change happens after the team receives the instructions, send the new version to everyone responsible for that zone and mark the previous one as outdated.
What actually keeps wedding decor setup on track?
Setup runs more smoothly when one person closes open questions before helpers reach the room. Keep one current plan, name who can approve changes, and send updates to every task owner. That gives helpers a clear way to pause when the venue layout or a box does not match the page.
Before sharing a zone's instructions, check that an owner accepted the task, the items match the reference, venue access is confirmed, and each item has a return destination. Mark unanswered questions open and assign someone to follow up. The Wedding Kit's editable decor setup pages can keep table instructions with the broader decor plan. Use only the pages that fit your venue's approved setup.
Why trust this article
The Cosmo Suite team behind The Wedding Kit prepared this guide using the product's published contents and public guidance from the U.S. Access Board and U.S. Fire Administration. The sources were checked on November 1, 2026. The examples are fictional and demonstrate a planning format. They do not report customer results or replace instructions from a venue, vendor, or local authority.
Where The Wedding Kit fits
The Wedding Kit includes a Wedding Decor & Styling Planner and Decor Set-Up pages with plans and setup instructions for each table. Its contents also list a Wedding Venue Layout Builder and a Decor Inventory. These pages can give a couple a place to organize room references, setup notes, and item destinations.
Use the venue's confirmation to settle its rules, and name the person who accepted each task. Fill in your room details, resolve open questions, and share the current instructions with the people responsible for setup. You can review The Wedding Kit's planning pages to see whether its included Canva templates match the way you want to organize your wedding.
Frequently asked questions
What should wedding decor setup instructions include?
Write down the exact place, a labelled reference, how many items are needed, who will set them out, and where they go afterward. Add the time only after confirming the venue's setup window. Mark unanswered questions as open and name the person who will check them.
How should I label wedding decor boxes?
Match each box label to a zone or table name in the setup plan. List the contents and where the items go after the wedding. Keep the matching instruction or reference with the box. Mark fragile items and rentals so the person unpacking knows how to handle them.
Who should set up wedding decorations?
Choose someone who has agreed to the task and can arrive during the venue's setup window. That person might be a vendor, coordinator, or helper. Confirm each assignment with the people involved before adding a friend or family member to the plan.
When should wedding decor be set up?
Use the setup window your venue approved and the arrival times each vendor confirmed. Check how long the room is available and whether another vendor needs access before you set the order. A sample timeline does not authorize early entry.
What if the venue changes the room layout?
Ask the venue for its current plan. Update the location references and send the new version to every task owner. Keep unclear placement or attachment details open until the venue confirms them.
Can a setup helper choose a substitute decoration?
A helper can use an alternate decoration if the named decision owner approved it in advance. Write down the approved option and where it can go. If no substitute is approved, ask before changing the plan.
Sources
Keep reading
Wedding planning
Wedding planning binder: build one you can hand over
Wedding planning binder: set up a useful index, keep originals organized, and prepare a smaller handoff packet with owners, confirmed times, and version dates.
· 9 min read
Wedding planning
Wedding day binder template: prepare a clear handoff
Wedding day binder template: arrange confirmed contacts and schedules, flag open setup details, and give each helper the current version they need.
· 10 min read
Wedding planning
Wedding vendor contact list: fields that prevent missed calls
Wedding vendor contact list: record primary and backup contacts, arrival windows, and escalation owners so helpers know whom to call when plans change.
· 7 min read